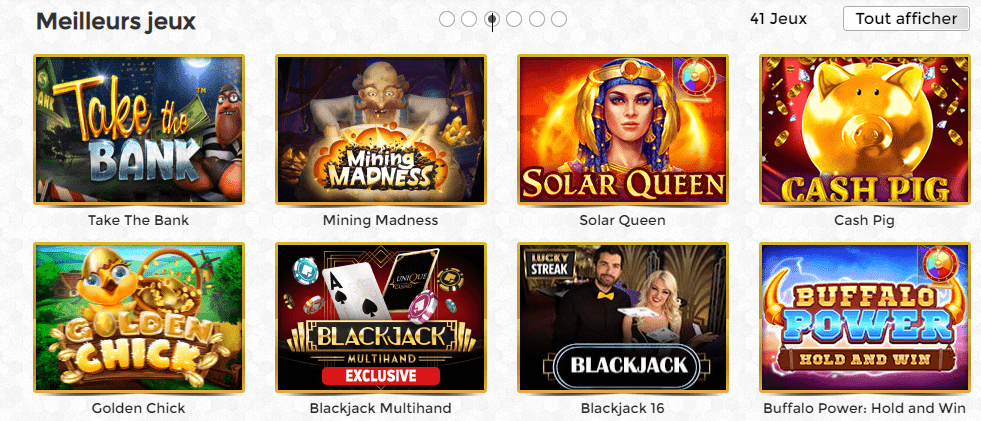
Click here to see other versions of that tag

***********

To make that tag, you'll need the plugin Alien skin eye candy 5,

and the material zip here

*It is forbidden to suppress watermarks on the material provided , to alter, mist or rename the tubes in order to respect the work of the tubers

- The tube of the woman is by Ann,  thank you Ann for giving me permission to use your tubes

*

Preparation

Put your masks in your masks folder

Open your Psp. Open the tubes, the picture, duplicate them, close the originals and minimize the copies for now.

Now, we're ready to start !

- If you want to use a picture of your own, it must be the same size as mine ( 350 by 233 pixels ) and you'll have to add to the picture symmetrical borders of 1 pixel with a dark colour and 10 pixels in white or other light colour

*

1- Open a new transparent layer of 700 by 600 pixels

2- Set your foreground with a light colour out of your picture ( here : 989c21)

and your background with a dark colour (here : 2e3d1b)

Prepare a sunburst gradient in your foreground as follow :

3- Flood fill your layer with this gradient

4- Add a new raster layer

Select a dark color out of your tube in your background (here bluish green 273f41)

Flood fill your new layer with that color (click right)

5-Layers / loadmask / loadmask from disk / choose the mask arfrac

Check source luminance, fit to canvas and hide all mask

Layers / merge / merge group

Set the mode of this layer to multiply

6-Add a new raster layer

Flood fill that layer with the light colour chosen at point 2 (989c21)

7-Layers / loadmask / loadmask from disk / choose the mask yunabead

Check source luminance, fit to canvas, invert transparency and hide all mask

Layers / merge / merge group

Set the mode of this layer to screen

8- Open the picture you've prepared ( or take mine, the picture of a camelia),copy it and paste it as a new layer on your tag. Leave it where it is!

9- Effects / image effects / offset as follow:

10-Effects / plugins / Alien skin eye candy 5: impact / perspective shadow / reflect in front sharp / default (see below)

Effects / 3d effects / drop shadow / 0, 0, 70, 5, black

11-Open the tube of the person, copy it and paste it as a new layer

Move it to the right place

12-Effects / plugins / Alien skin eye candy 5: impact / perspective shadow / drop shadow blurry

13-Add a new layer to apply a brush of yours, to decorate your tag

You can either use a brush or a fancy tube

Don't forget to set in your foreground with the colour you 'll use for your brush

You must add a new layer for each of the brushes you'll use

It's up to you to change the mode of these different layers (I've set the flowers layer on the mode hard light )

14- Add a new layer to apply your signature

15- Image / add symmetrical borders of 1 or 2 pixels with your light colour

All you have to do now is to save your tag in a jpeg file

*

That's it !! You've done it !

If you 've enjoyed doing my tutorial, it would be nice to write a few words in my guest book ! If you 've had the slightest problem, please, send me a mail here so I can see to the problem !

Tutorial translated on the 4th of september 2008

************

Thank you Janella for your lovely version

****************

Thank you Sherri for your awesome version

*************

Thank you Traudel for your beautiful version

*************

Thank you Marie K for your stunning version

***************

Thelma

******************

You can see all the versions that are on the French tutorial page here